
Portfolio site, continued
You’ll be given a bunch of instructions without (fully) understanding what they do yet. That’s ok. We get more into these topics in Lecture 17 and Advanced Computing for Policy.
We’re building on the prep from Lecture 16.
The instructions are very specific, follow them closely.
Whenever you’re told to create a file, it should be in the “root” of your repository (the
[username].github.iofolder).
Git
Git setup
[once per computer]
Ensure you’ve installed Git.
Open your
[username].github.iofolder in VSCode.Set global name and email in Git.
Your name and email can be set to whatever.
Local repository setup
In sidebar, click Source Control.
You should see a bunch of files under
Changes.
gitignore
Create a
.gitignorefile containing the following: [once per repository].DS_Store .ipynb_checkpoints/ _build/ # make sure Labs aren't included Lab*.ipynb lab*.ipynb # virtual environments; not needed in Python 3.13+, as a .gitignore is added to that folder # https://docs.python.org/3/library/venv.html#cmdoption-venv-without-scm-ignore-files .venv/ myenv/You should now see only the following under
Changes:.gitignorelecture_16_example.ipynbrequirements.txt
Commit
Use a meaningful commit message, like “adding example notebook and gitignore”.
If it asks about
There are no staged changes, clickAlways.
Make changes
In
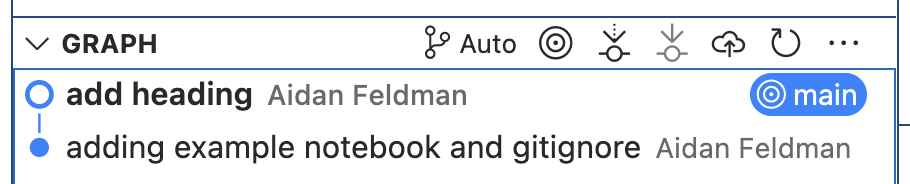
lecture_16_example.ipynb, add a Markdown cell at the top with a heading (level 1).# Lecture 16 ExampleCommit.
Your Source Control Graph (a.k.a. your Git history) should then look something like this:
GitHub
If you miss a step, don’t worry - it’s possible to do them out of order. Ask for help if you need.
Click
Publish Branch.Allow signing in with GitHub, if prompted. [once per computer]
Click
Publish to GitHub public repository. [once per repository]Have VSCode periodically fetch, if asked.
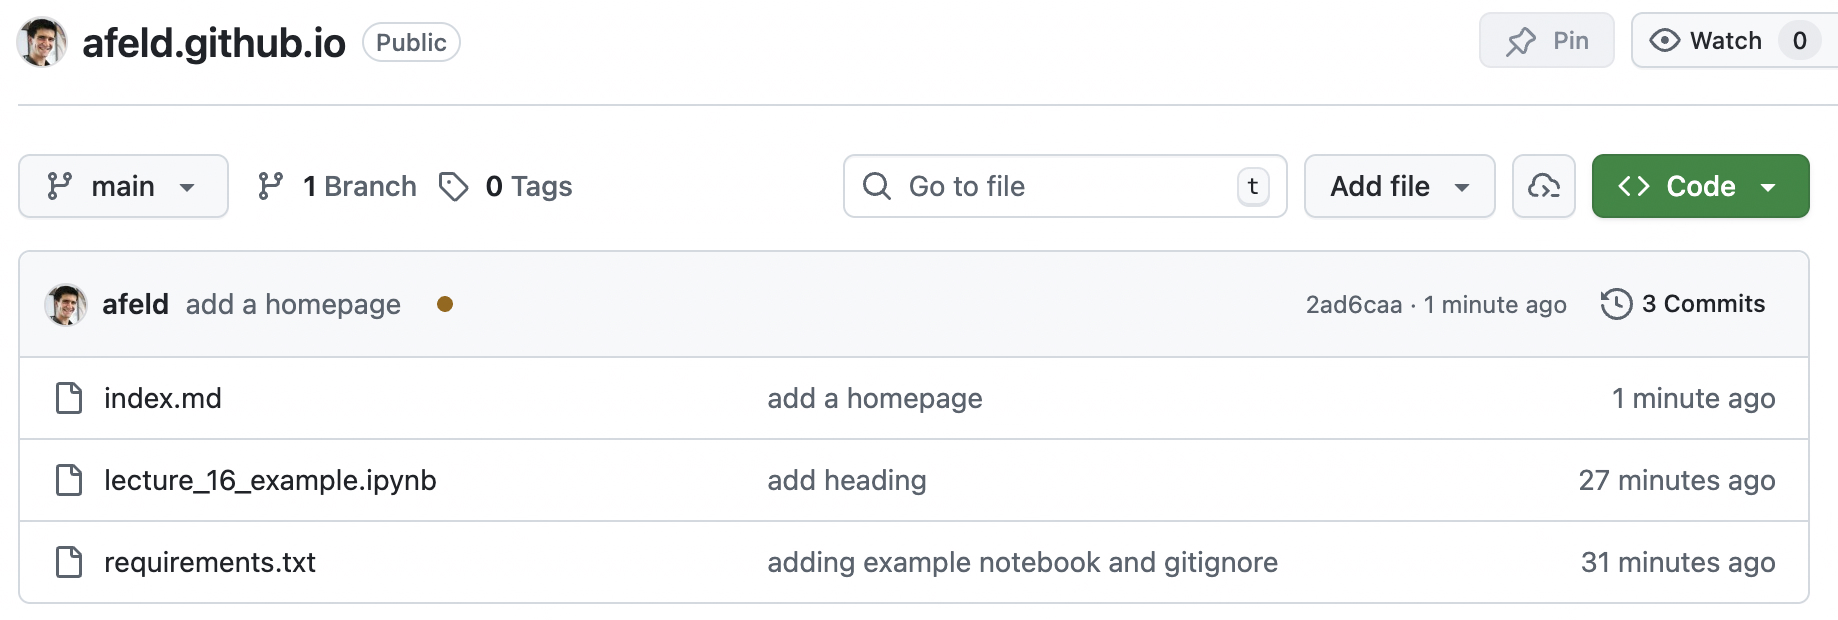
Visit the repository on GitHub.
Click into the files.
Make changes
In VSCode, add an
index.mdfile with the following. (You can expand it later.)# [Your name]'s Portfolio Welcome! Work in progress.Commit.
Push (a.k.a. “sync”) the change to GitHub.
Jupyter Book
Static website builder
Used to build the course site
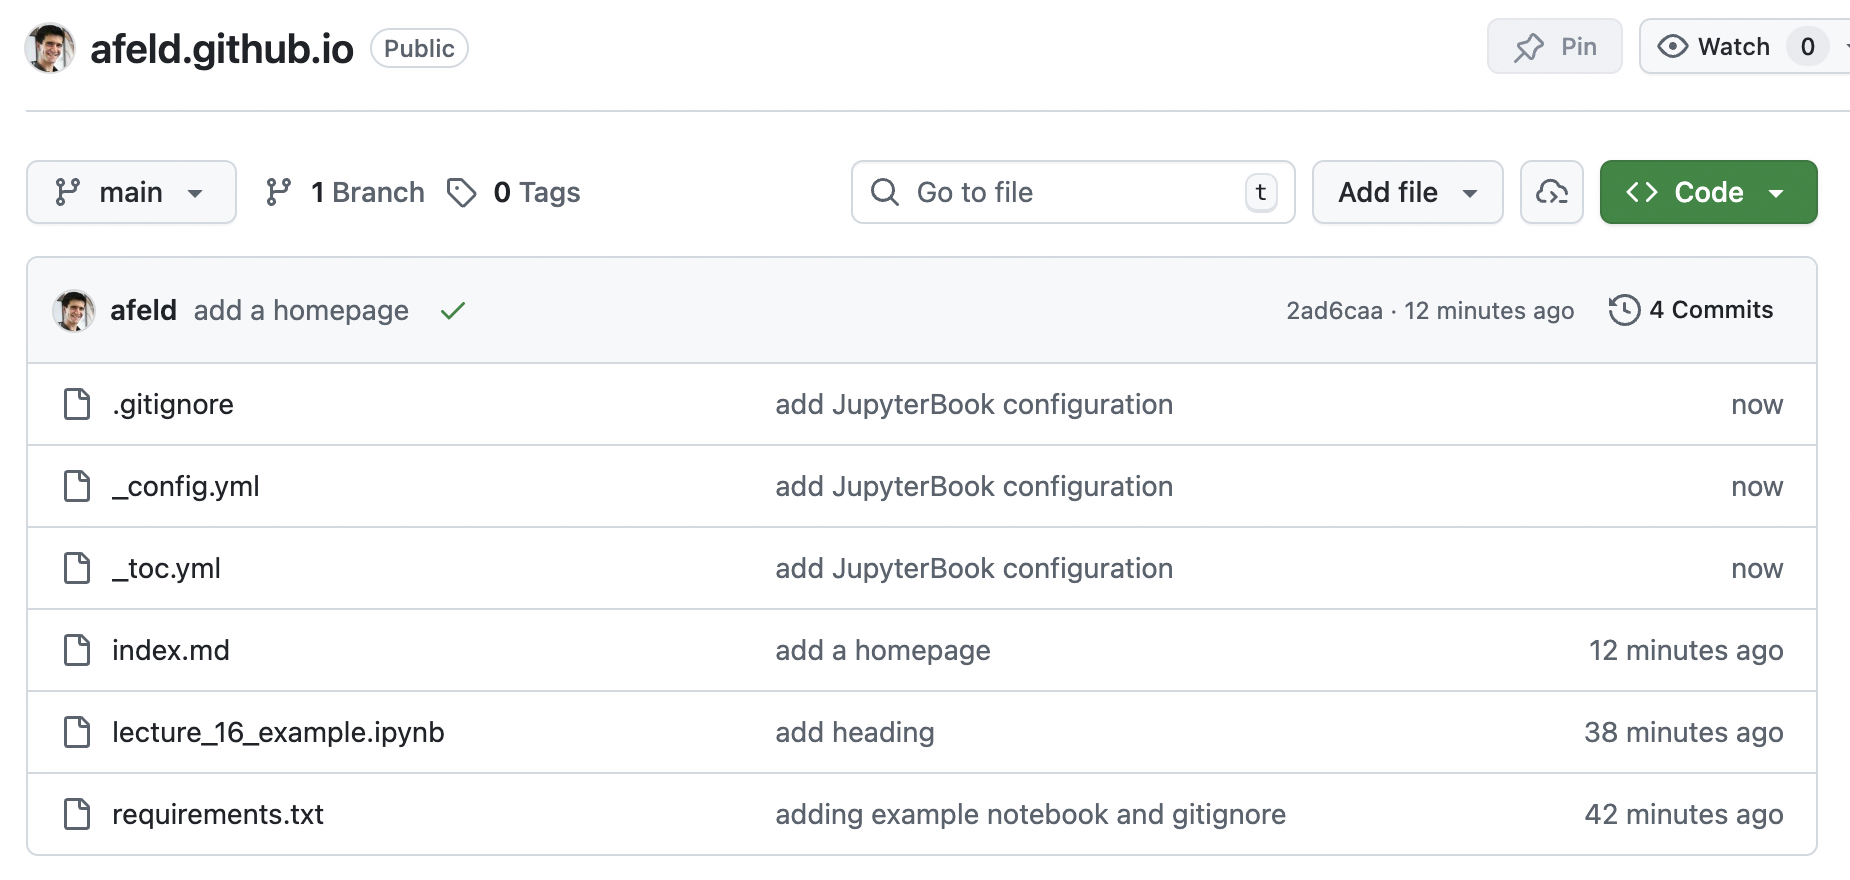
Push to GitHub
Commit
Push
The GitHub repository should then look like this:
Deploy the site
To make your site visible to others, deploy to GitHub pages.
Check the site: https://[username].github.io
You are more than welcome to customize the site as much as you like, but make sure you finish the assigned work first.